- Joined
- Jan 5, 2021
- Messages
- 2,181
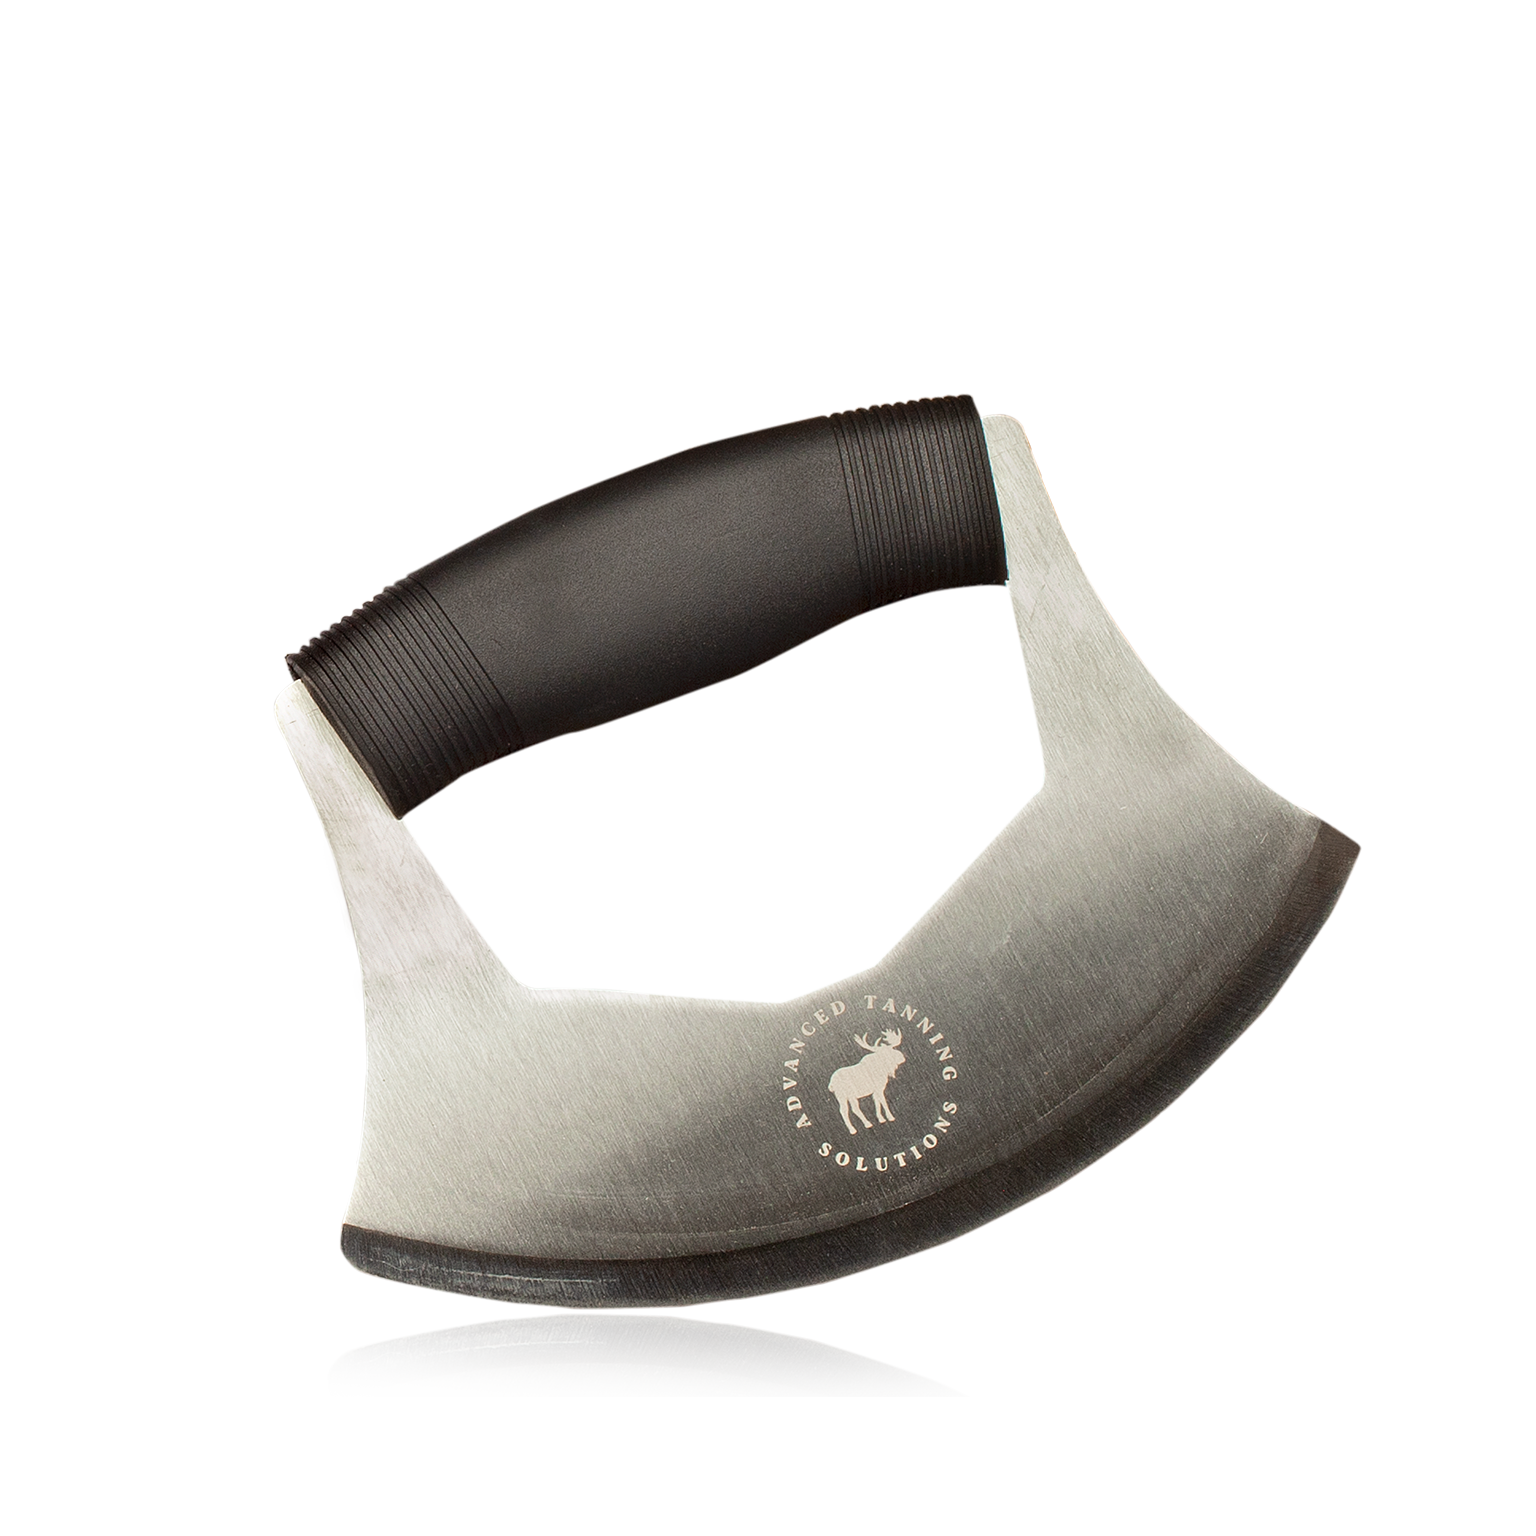
A fleshing knife should NOT be sharp, it should be almost sharp. You’re not trying to cut anything, the goal is to separate flesh from the hide. Deer leather is extremely tough sonic your tool is cutting it then it’s too sharp.
What is your intended use of the finished product? Are you making buckskin for clothing or a hair on for a wall hanger?
If you’re making buckskin all you need is wood ash, some kind of protein (brains, eggs or pure soap) and smoke. Please note I’ve never done a chem tan, my experience is with traditional tanning. No matter how you do it, it’s very labor intensive. But if done right, a traditional buckskin is like gortex - water repellent, breathable and flexible.
In my experience, salting is a way to preserve a hide before tanning so that it doesn’t rot. In this cast flesh the hide quickly - all you’re doing is removing the meat and fat. Then coat the flesh side with salt, roll it up and it will keep for a long time. But if you want buckskin for a garment, salting it will decrease flexibility and breath ability.
I’ve been working out how to make camo patterned buckskin:
Last edited: