LeTuB
Member
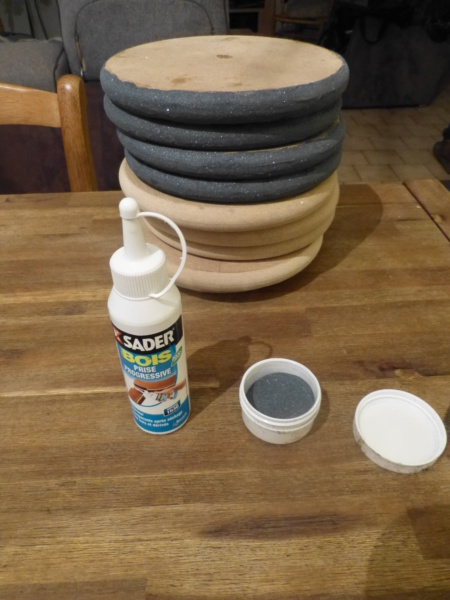
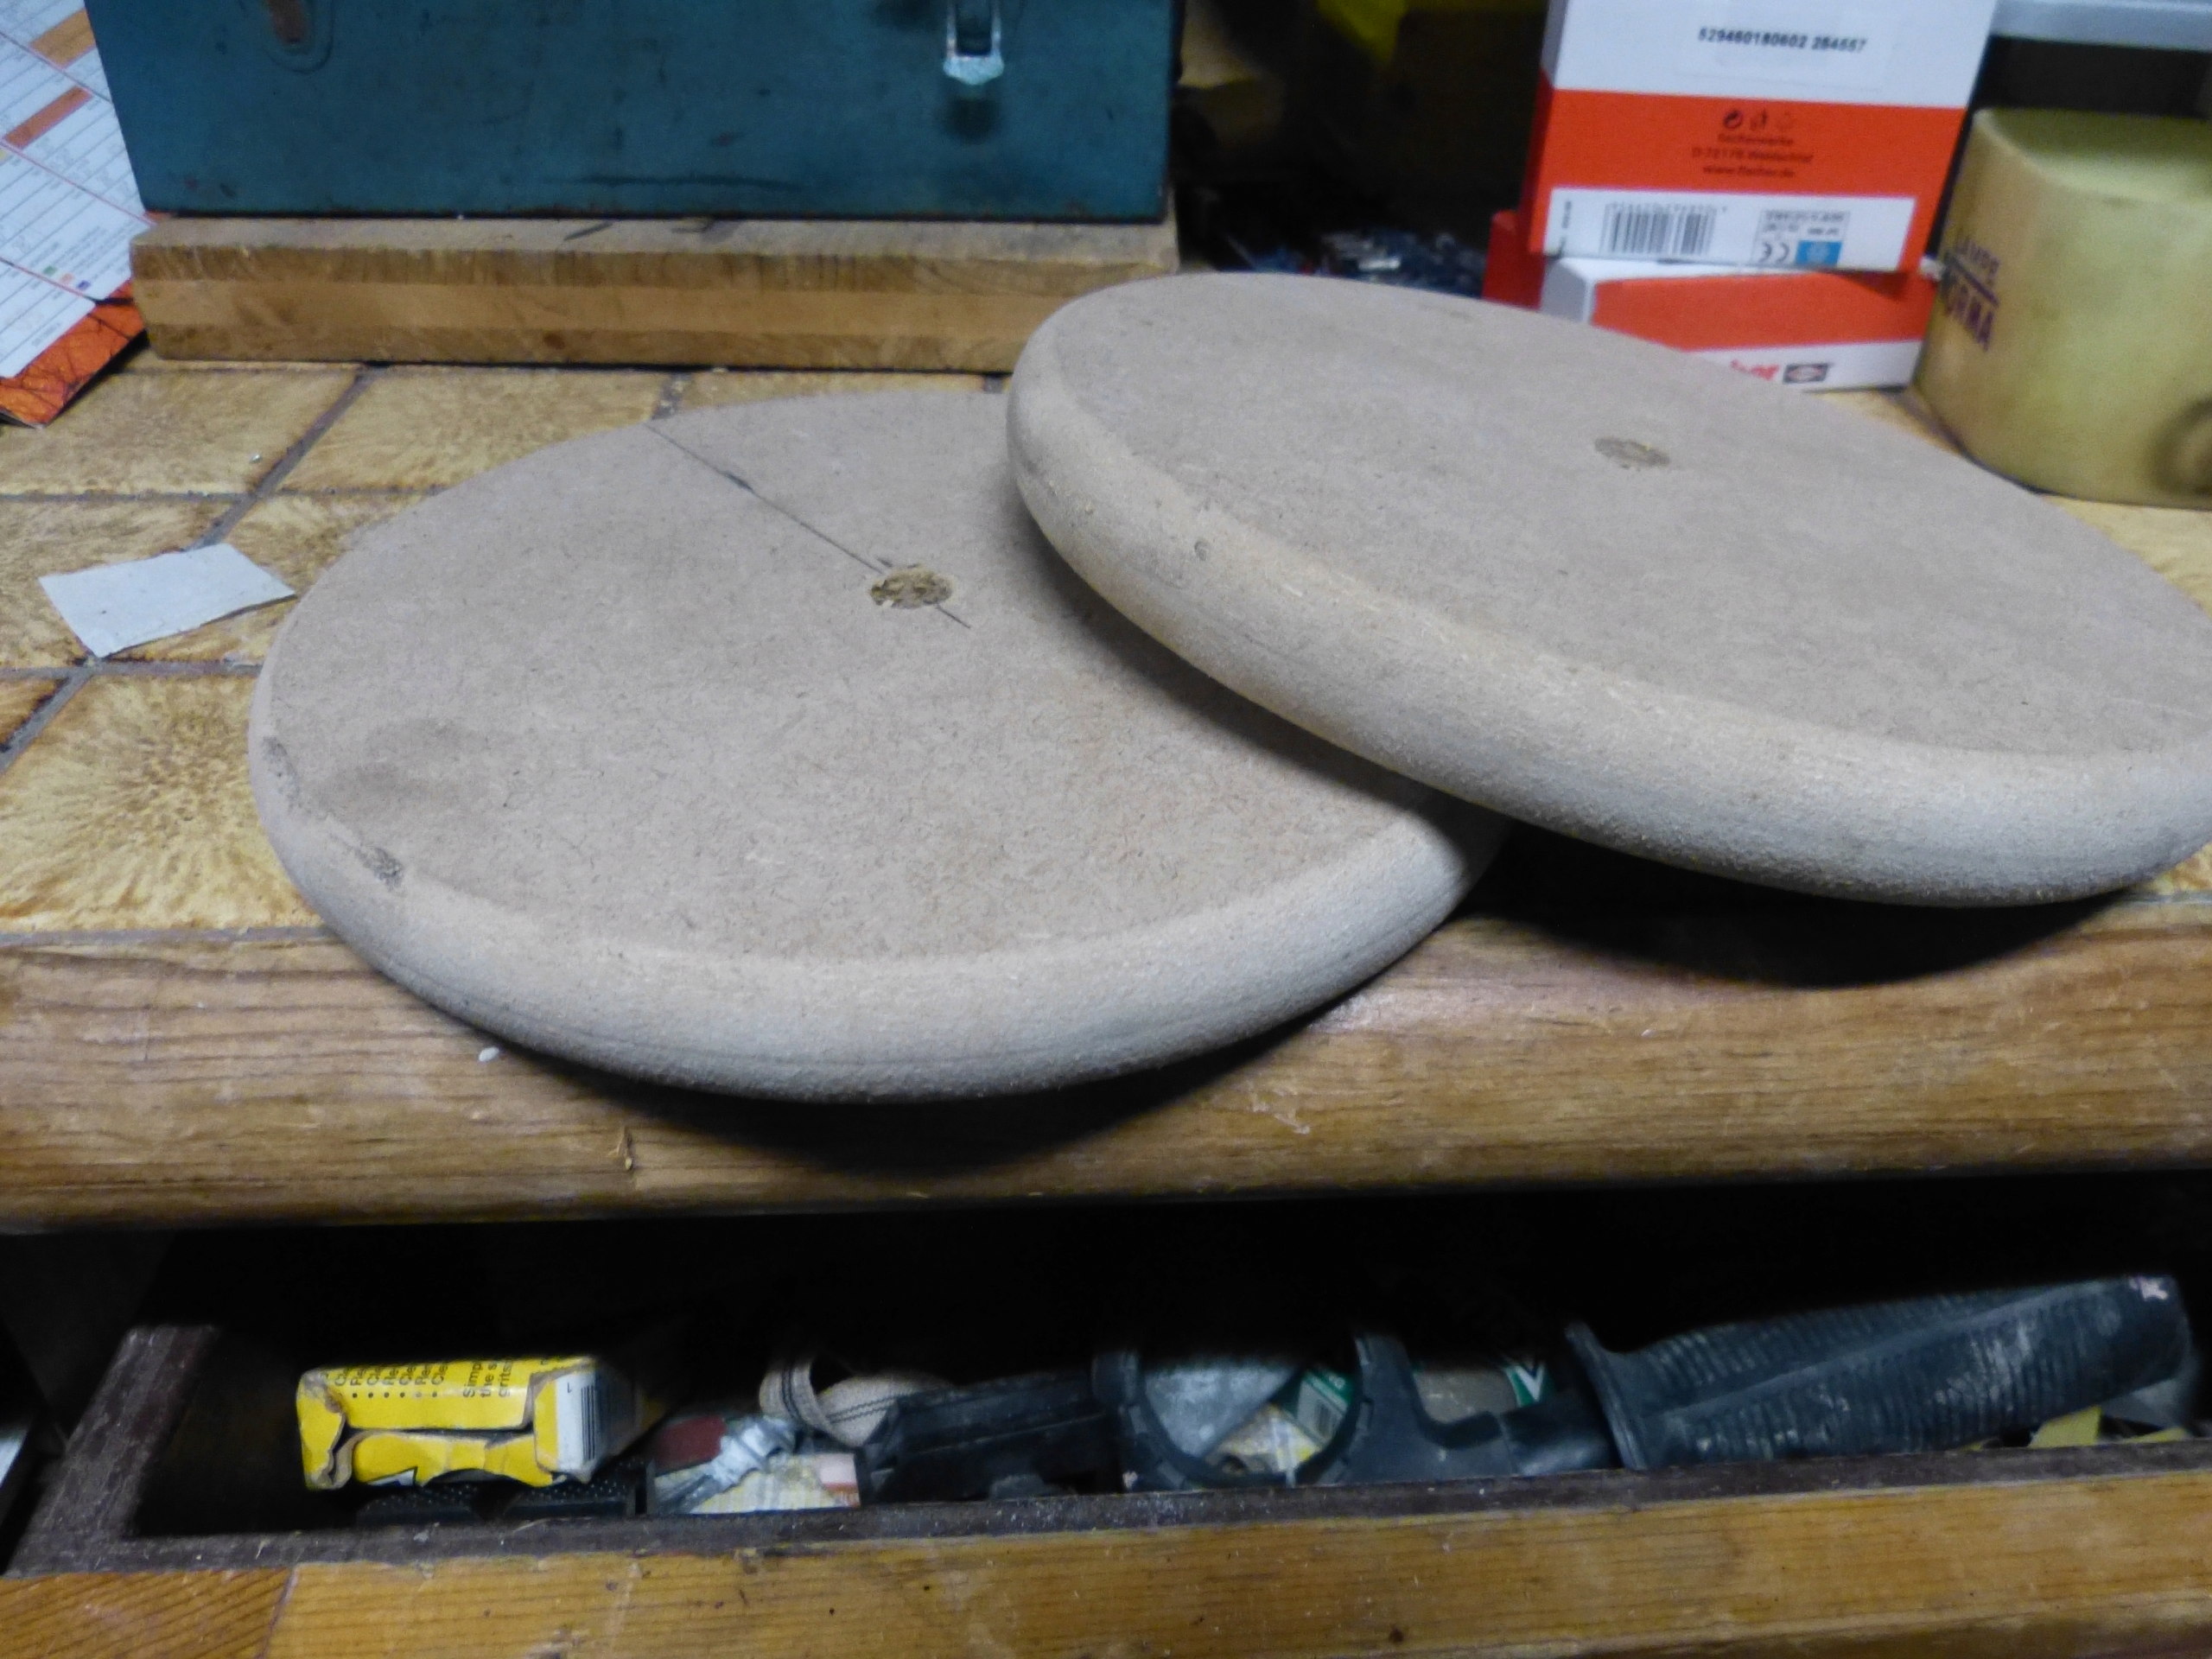
Roughly cut 8'' discs in a scrap 1/2'' MDF sheet.
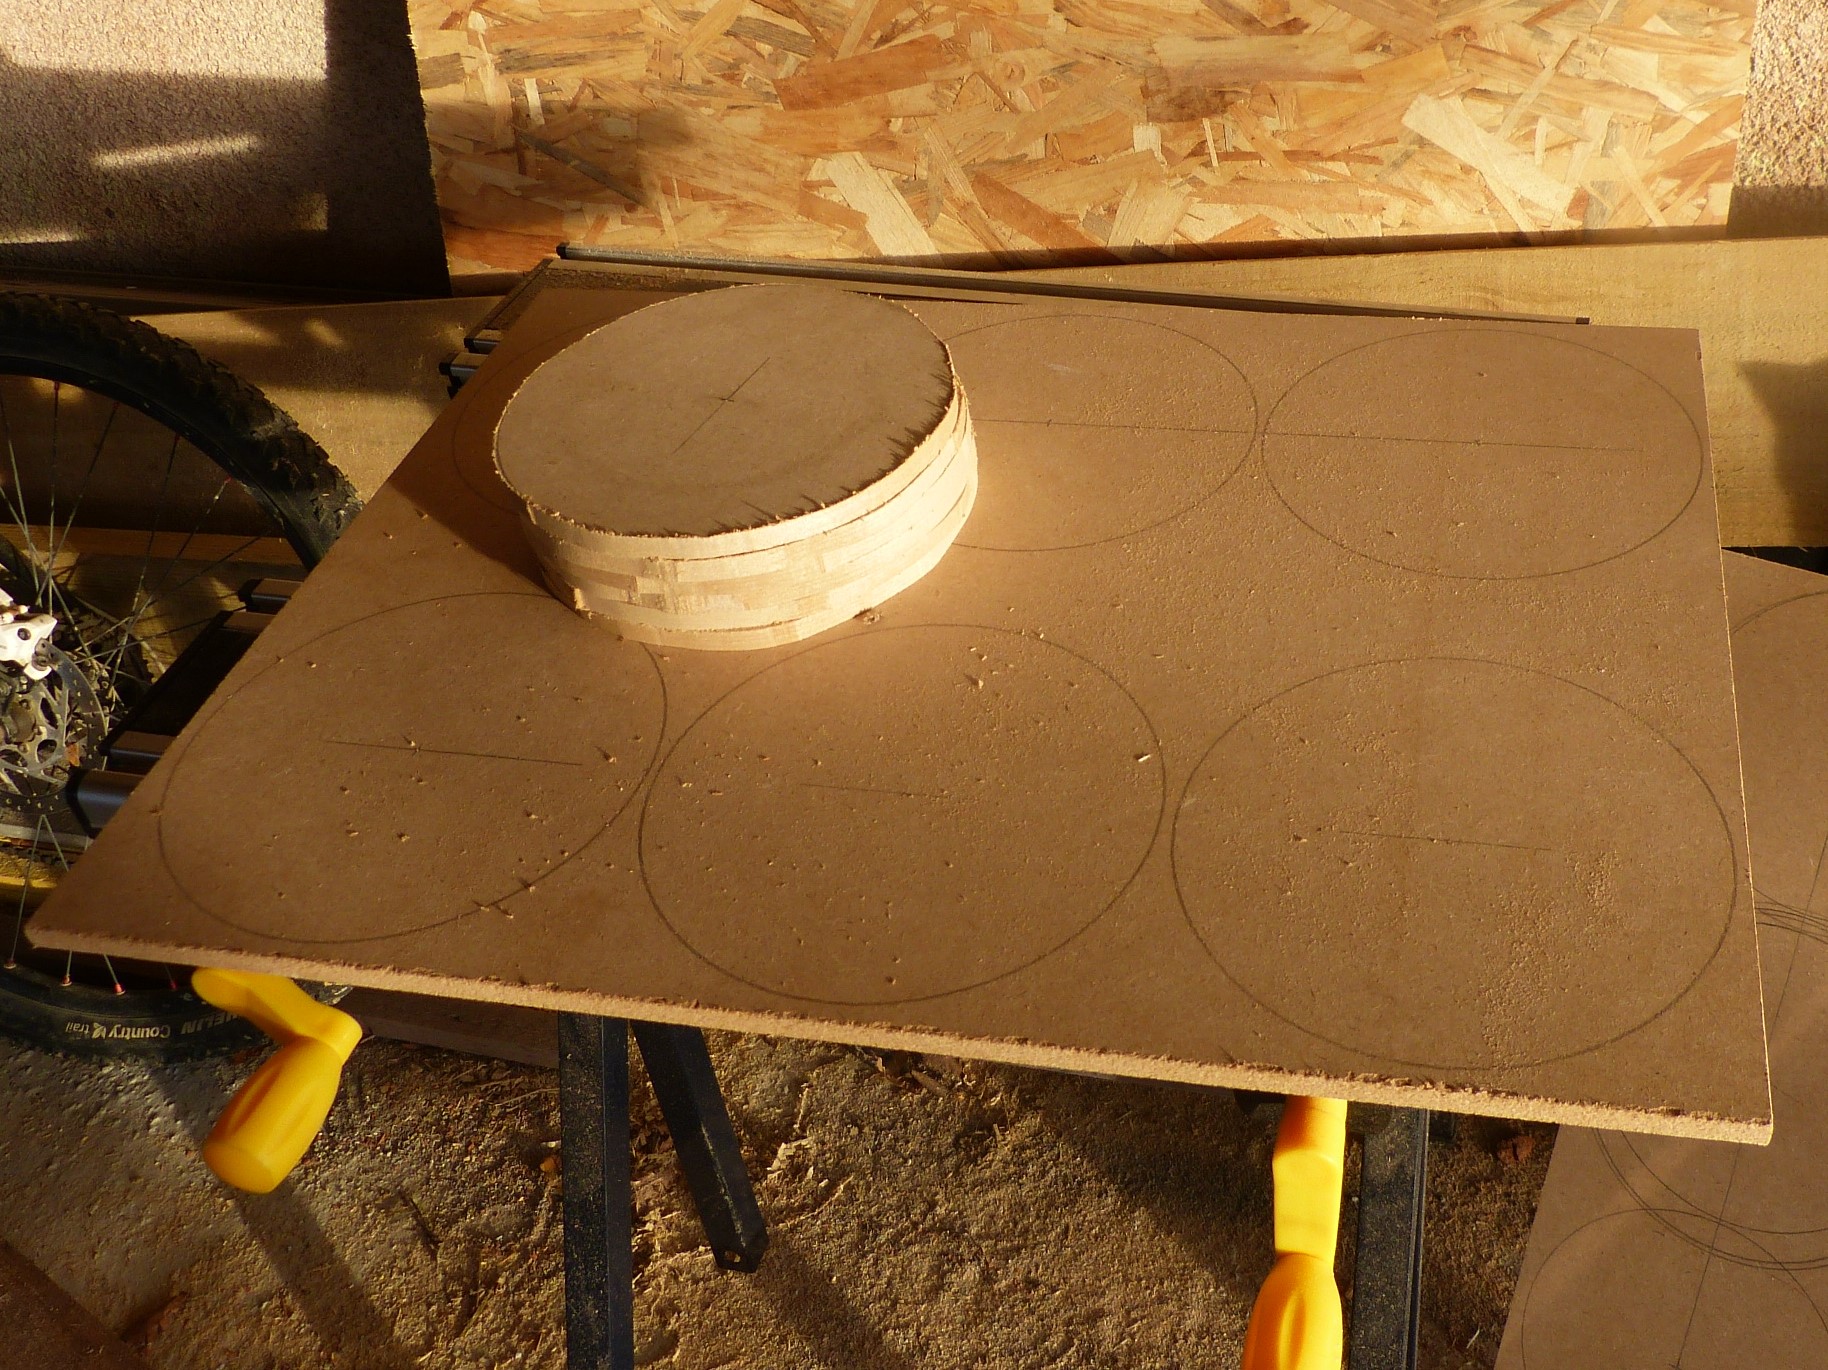
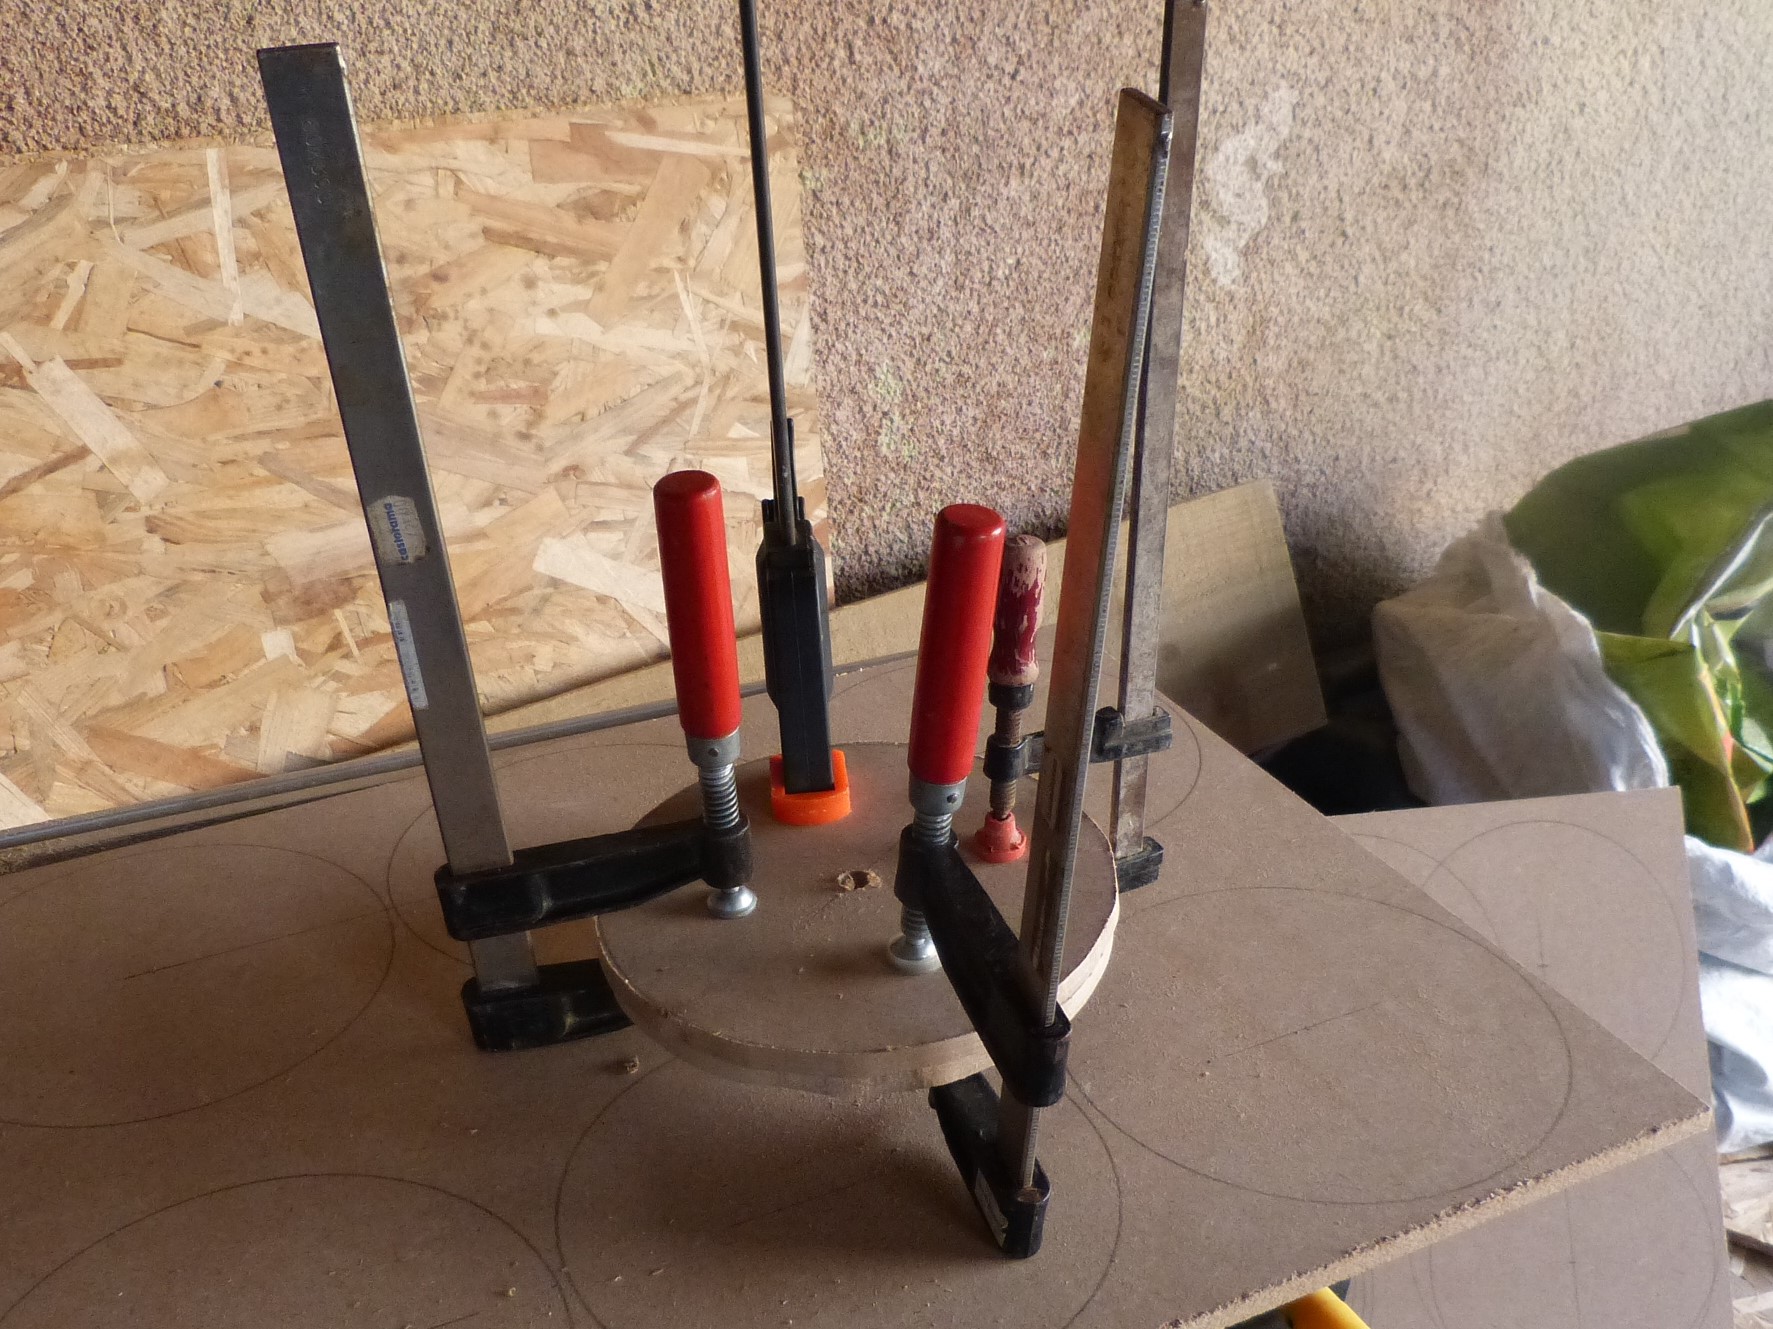
Then glue by pair
Of course it's better if you have directly 1'' thick MDF
Drill center, then mount on the grinder
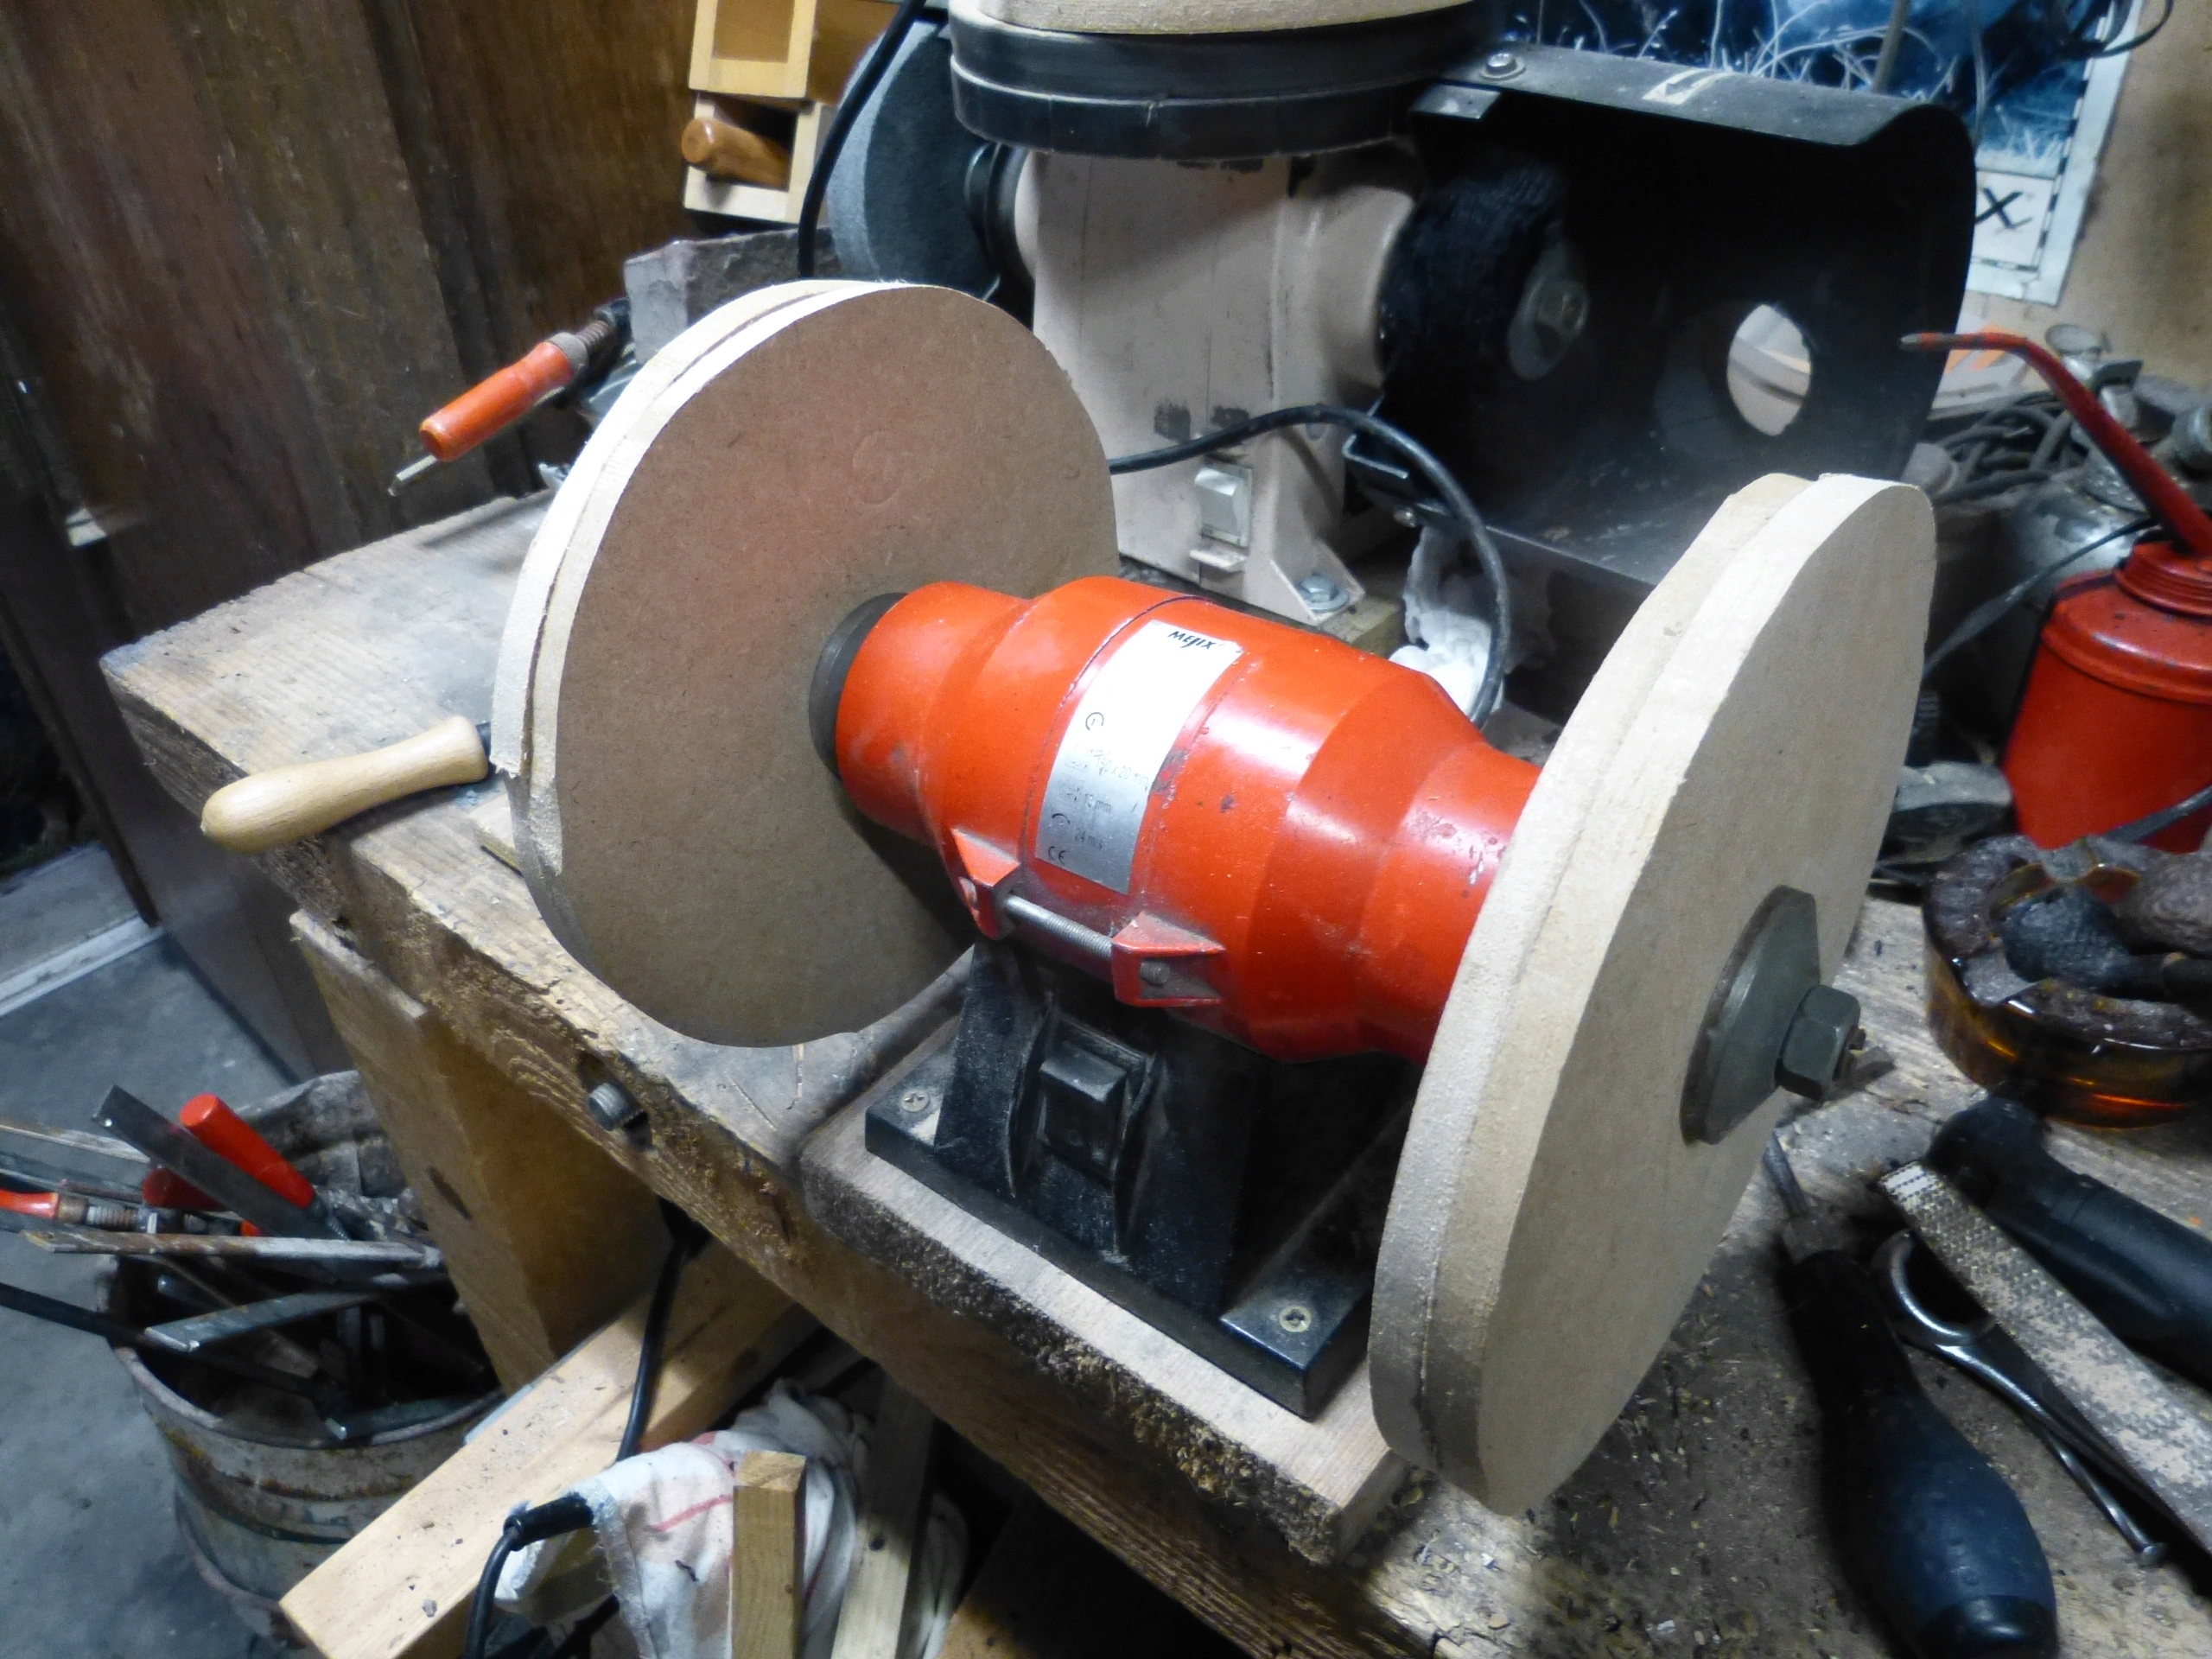
Give them the shape you want with a wood file and sandpaper (grinder ON) depending on what you want to sharpen
Here I rounded the edges for my concave BH
Then glue by pair
Of course it's better if you have directly 1'' thick MDF
Drill center, then mount on the grinder
Give them the shape you want with a wood file and sandpaper (grinder ON) depending on what you want to sharpen
Here I rounded the edges for my concave BH
Last edited: