• The SH Membership has gone live. Only SH Members have access to post in the classifieds. All members can view the classifieds. Starting in 2020 only SH Members will be admitted to the annual hunting contest. Current members will need to follow these steps to upgrade: 1. Click on your username 2. Click on Account upgrades 3. Choose SH Member and purchase.
  • We've been working hard the past few weeks to come up with some big changes to our vendor policies to meet the changing needs of our community. Please see the new vendor rules here: Vendor Access Area Rules

MDF sharpening discs

LeTuB

Member
Jul 10, 2020
89
243
33
55
Toulouse, France
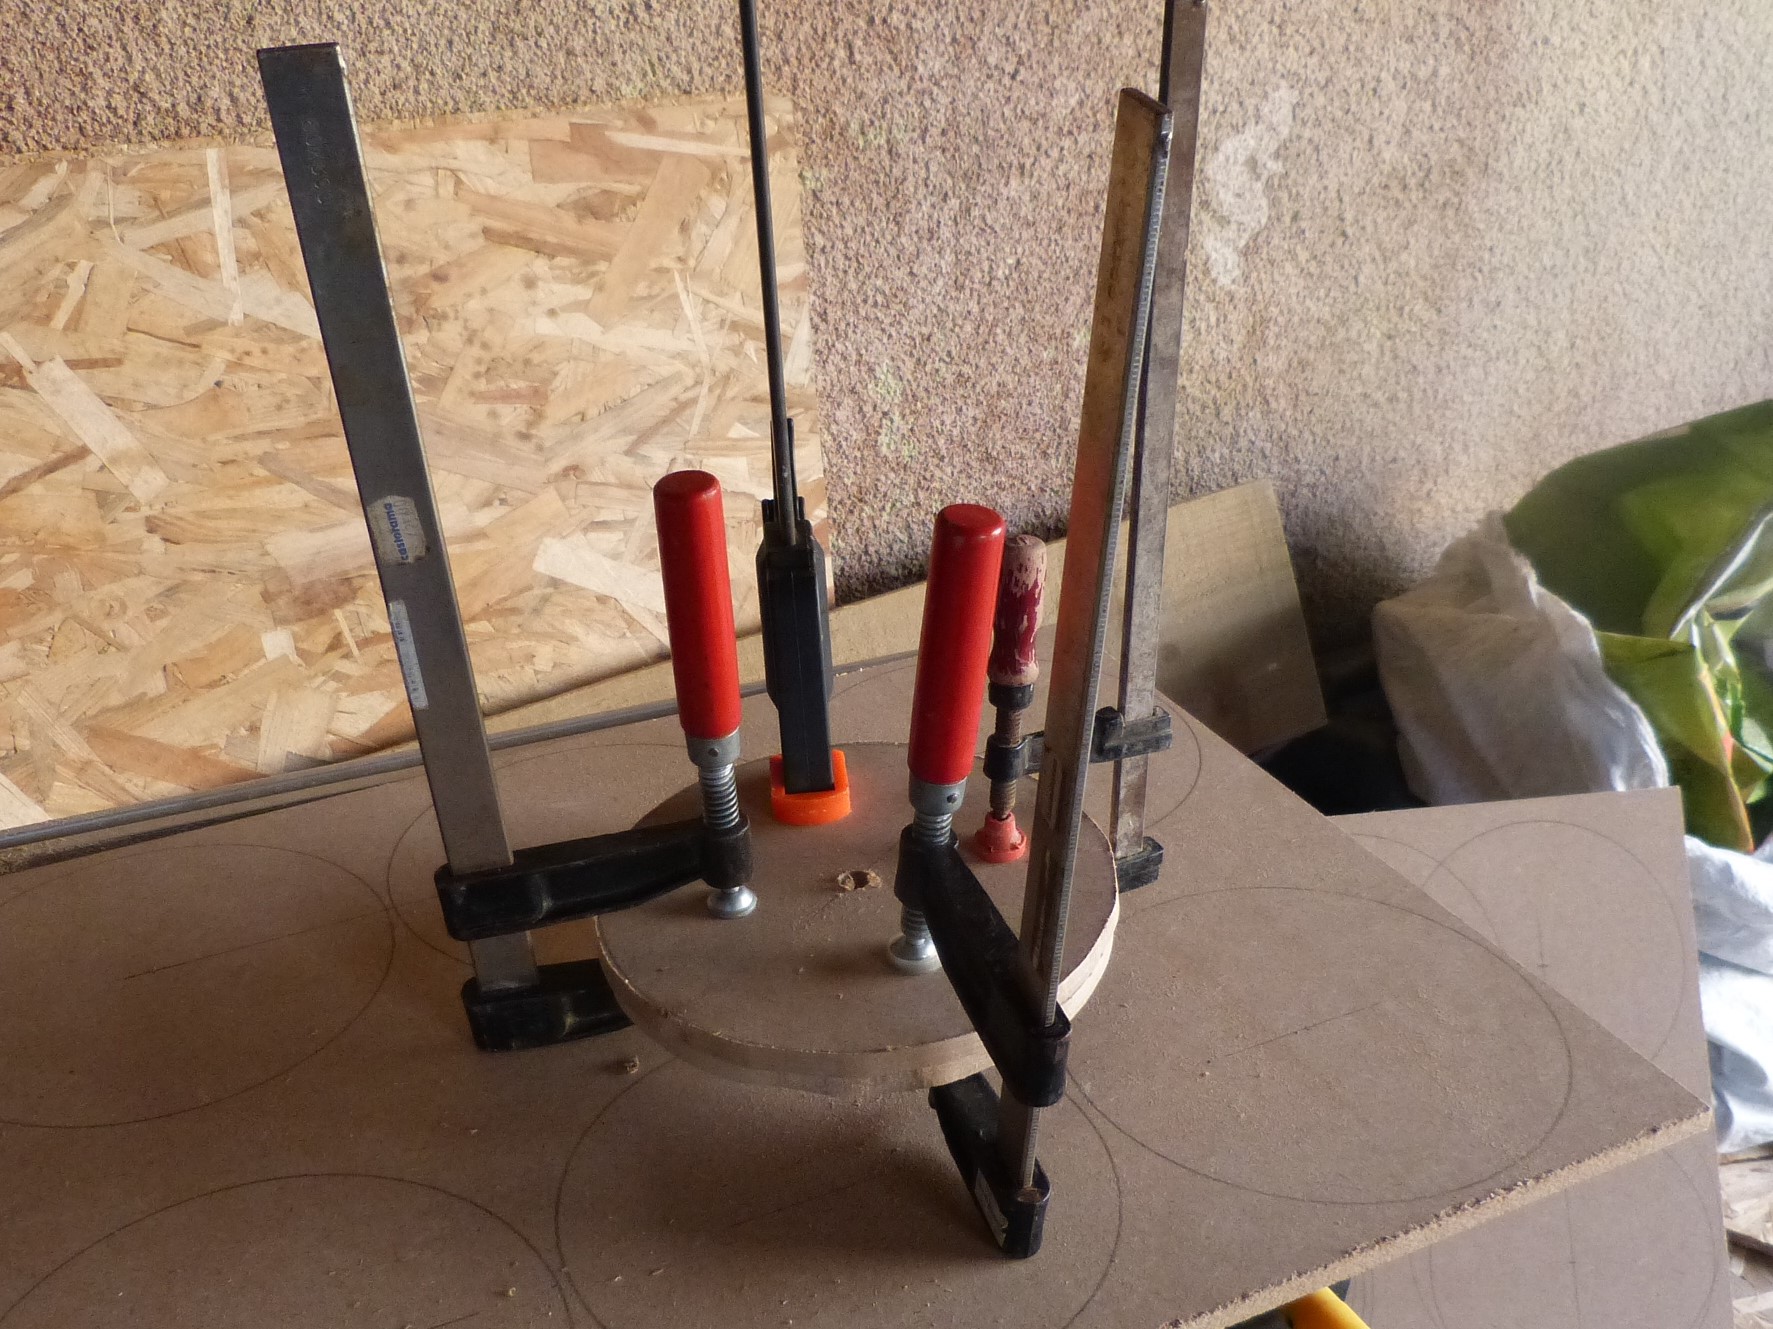
Roughly cut 8'' discs in a scrap 1/2'' MDF sheet.
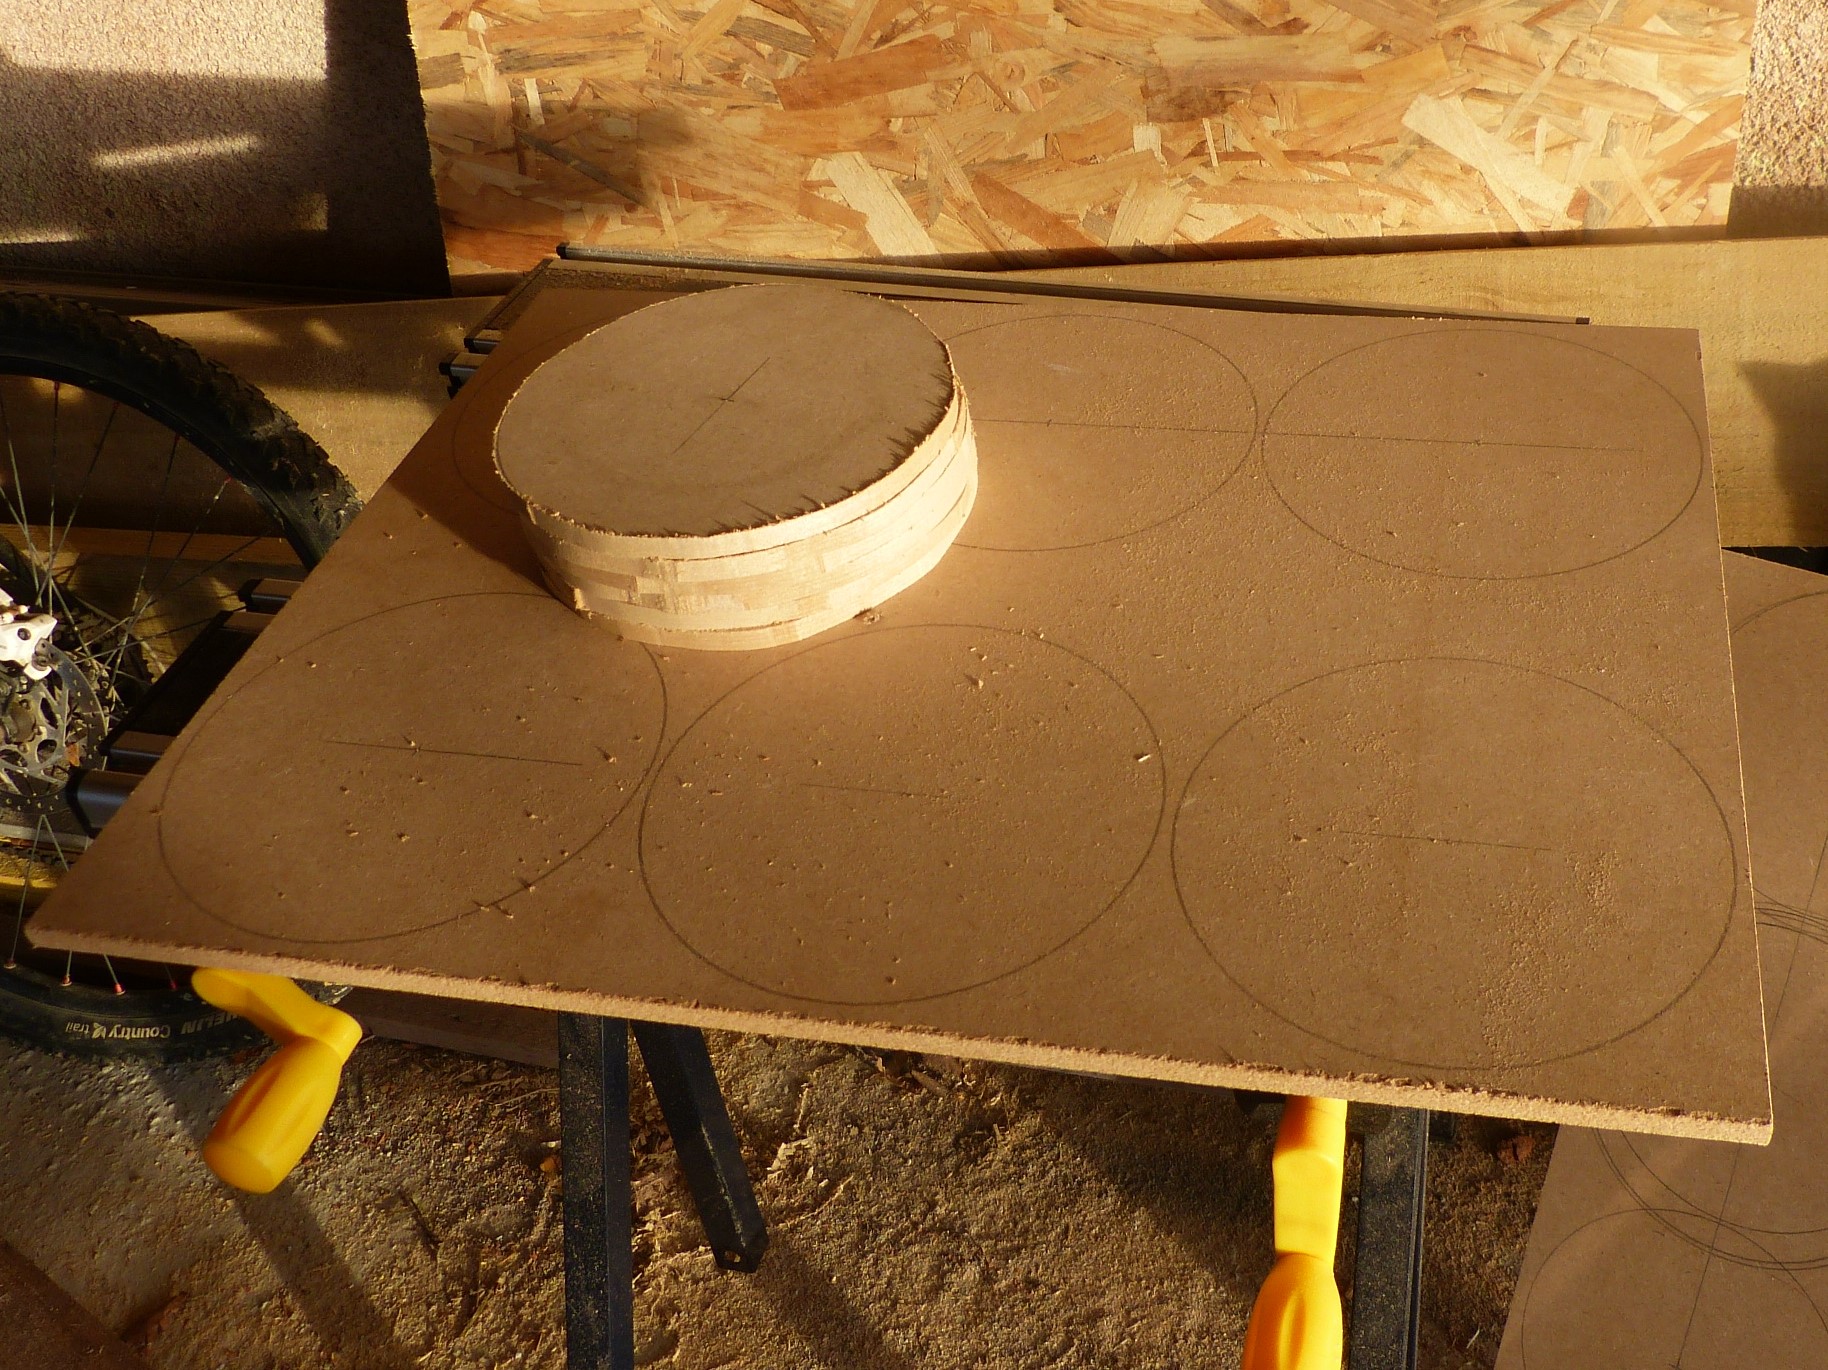
p1110817.jpg

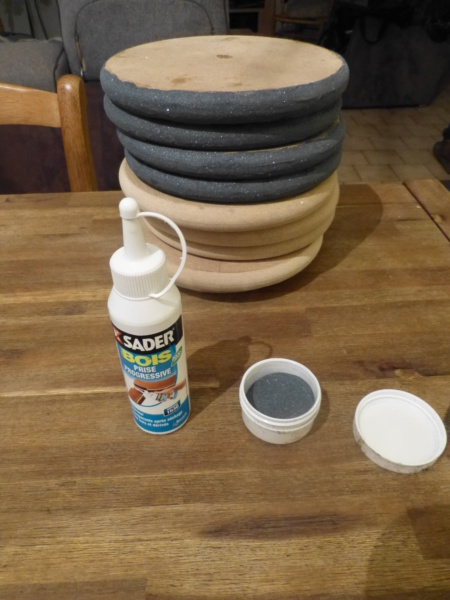
Then glue by pair
p1110818.jpg

Of course it's better if you have directly 1'' thick MDF
Drill center, then mount on the grinder
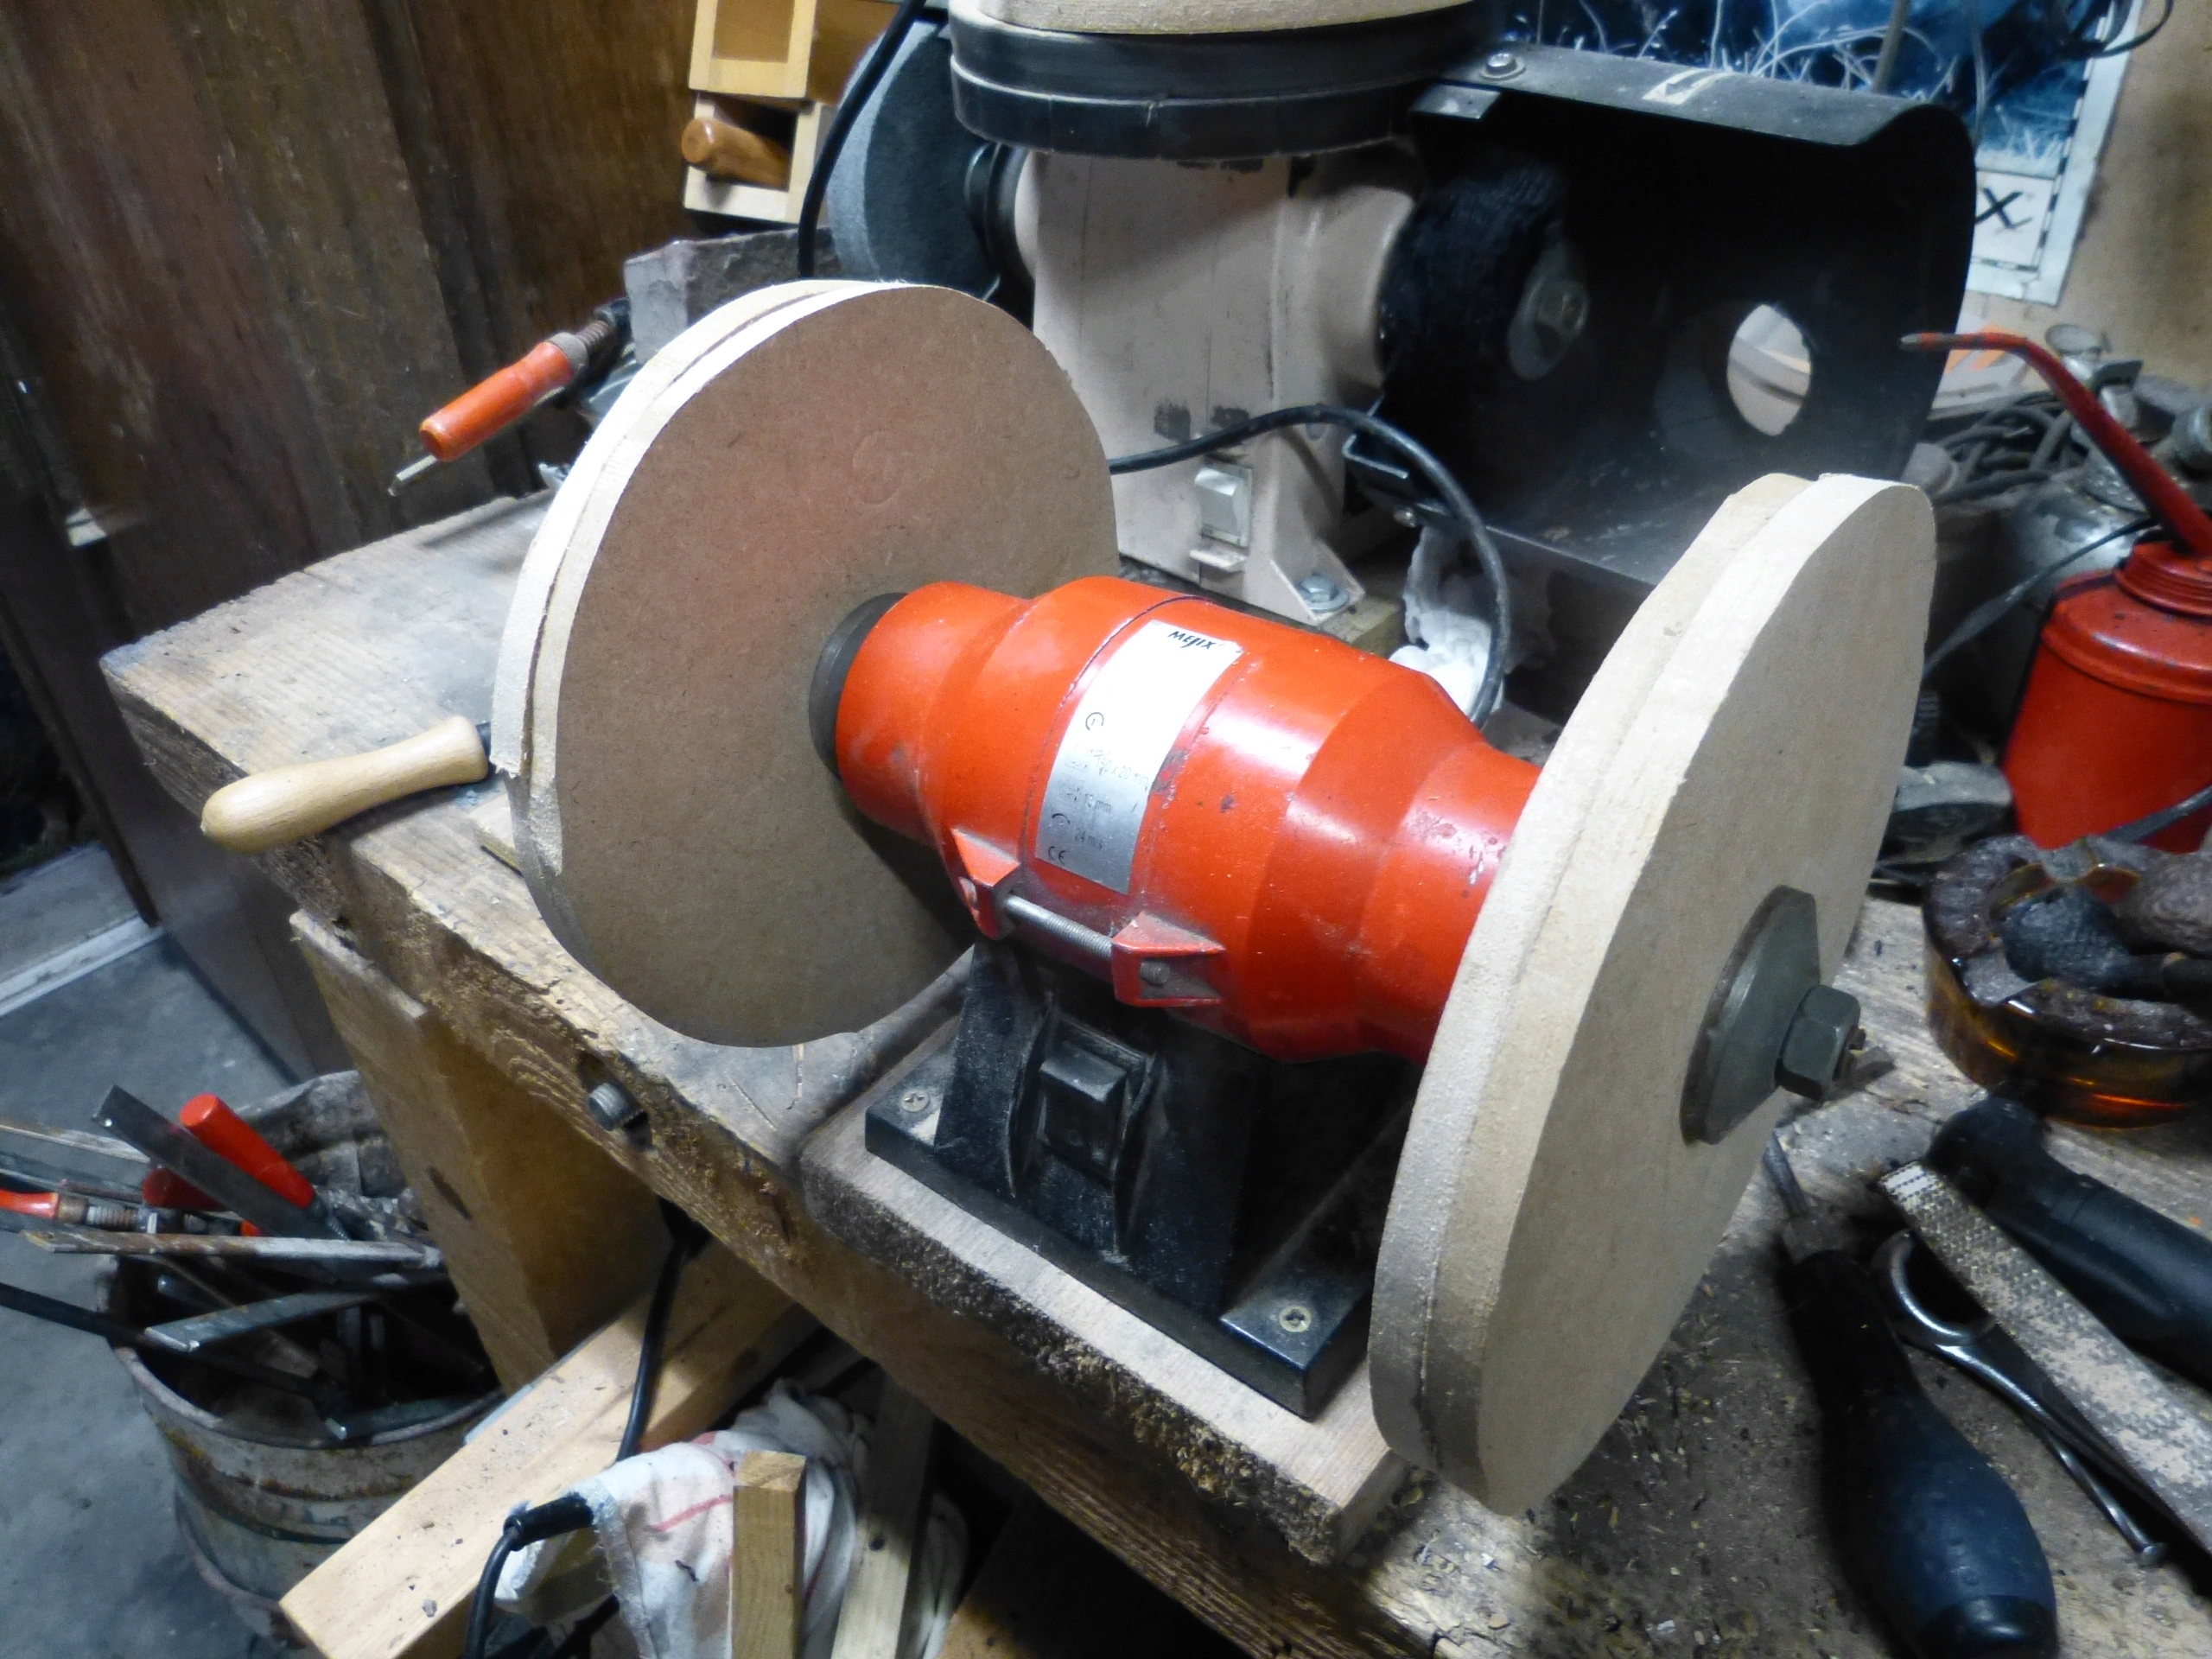
p1110821.jpg

Give them the shape you want with a wood file and sandpaper (grinder ON) depending on what you want to sharpen
Here I rounded the edges for my concave BH
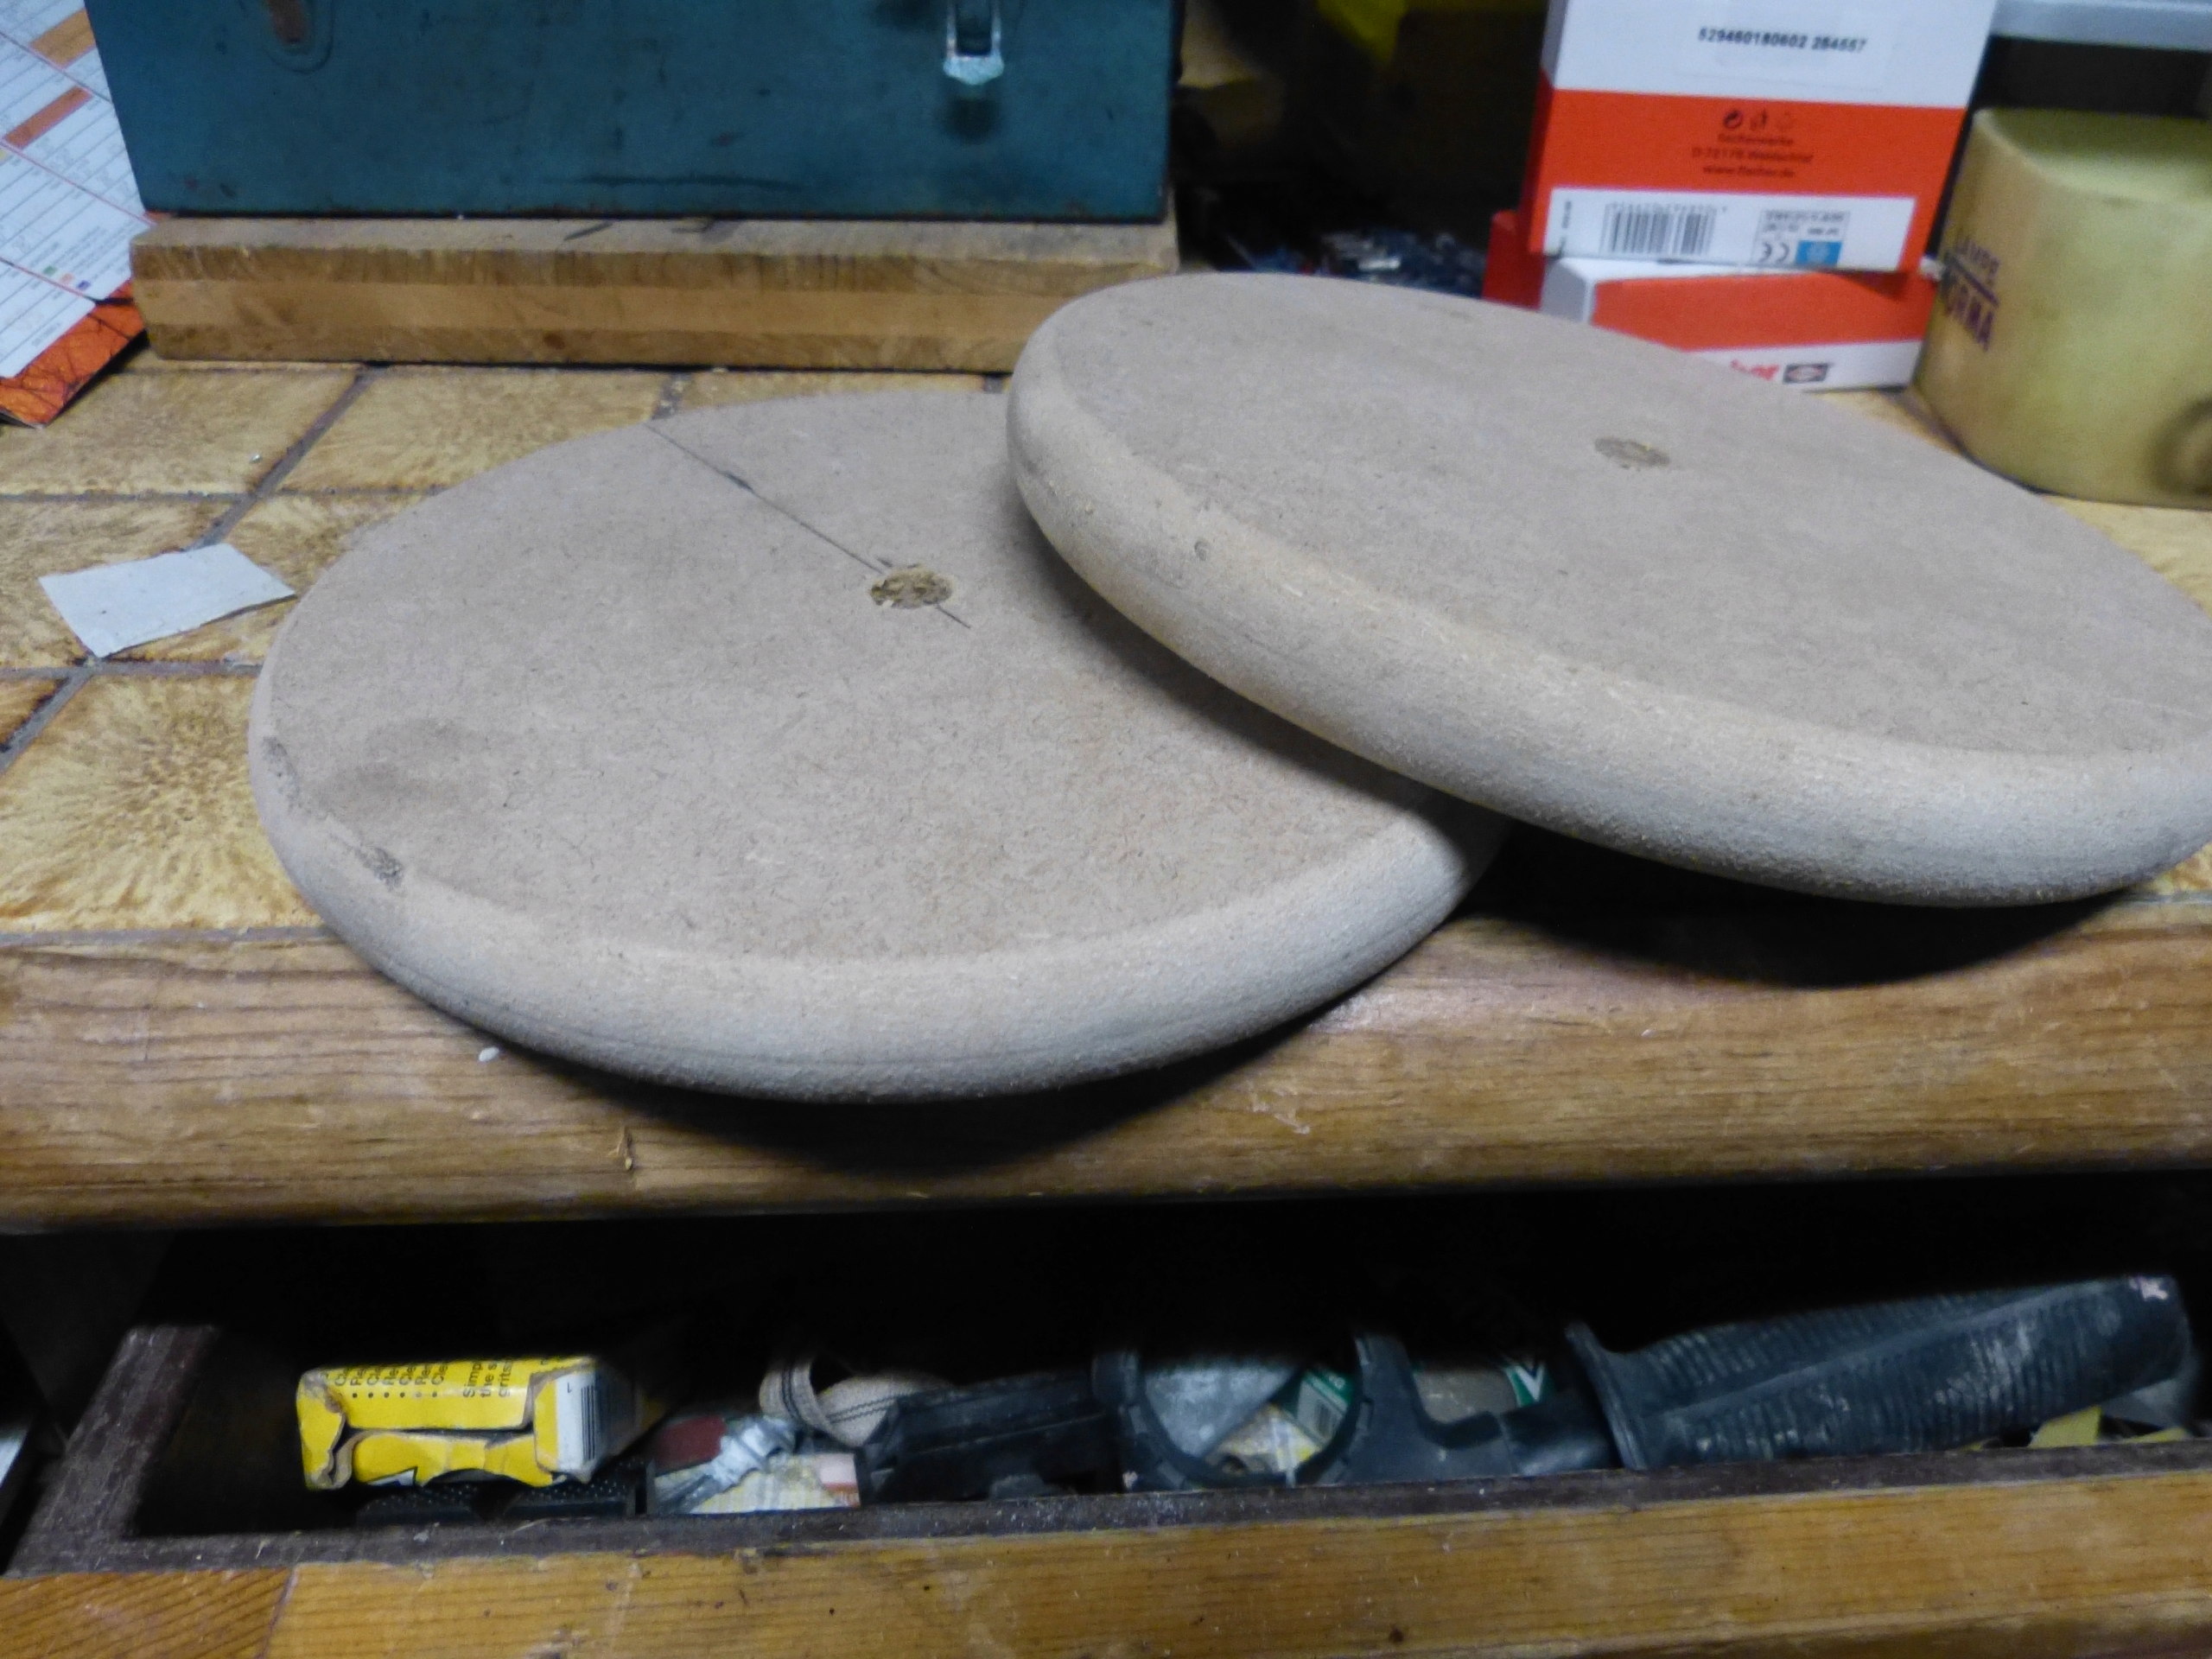
p1110820.jpg
 
Last edited:

Fuse Dude

Well-Known Member
Jan 6, 2020
582
558
93
43
South Louisiana
WEBSITE
Na
WLM
Na
YAHOO
Na
AOL
Na
LOCATION
South Louisiana
SKYPE
Na
TWITTER
Na
Roughly cut 8'' discs in a scrap 1/2'' MDF sheet.
p1110817.jpg

Then glue by pair
p1110818.jpg

Of course it's better if you have directly 1'' thick MDF
Drill center, then mount on the grinder
p1110821.jpg

Give them the shape you want with a wood file and sandpaper (grinder ON) depending on what you want to sharpen
Here I rounded the edges for my concave BH
p1110820.jpg

Glue the 220 grit silicon carbide powder on one of the discs with wood glue
p1110822.jpg


To be continued....(missing pictures)
I'm liking your style
 
  • Like
Reactions: BTaylor

Halfstep

Well-Known Member
Mar 4, 2023
270
589
93
57
Make sure to get some wax and keep the grit wheels coated as it helps to keep them cool when sharpening. Also get some white rogue buffing compound for the non-grit wheels.
 
  • Like
Reactions: Fuse Dude and Plebe

LeanMachine

Well-Known Member
Sep 28, 2018
371
491
63
36
This is what i use for burr removal on BHs and knives. I just use buffing compound on mine. Works insanely well.

Sent from my SM-G991U using Tapatalk
 
  • Like
Reactions: Fuse Dude

Iron_llama

Well-Known Member
Aug 4, 2020
2,236
2,765
113
44
NW MN
Do you freehand it or use a jig? I've got a Shopsmith, I could make a rod with several grits to put on the lathe.
 

LeTuB

Member
Jul 10, 2020
89
243
33
55
Toulouse, France
...continued...
coat the disc with a good amount of wood glue then pour it with the silicon carbide powder, while turning the wheel by hand.
Put a sheet of paper under to retrieve the powder in excess
let dry for 24h


After 24h, coat the grit with bee wax (turn the wheel by hand)
fig 4.JPG

Turn on the grinder, use a scrap blade to gently heat the wax until you obtain an uniform coating
fig 5.JPG

the other disc is coated with polishing paste (rouge)


few pass of each disc gives you a razor sharp edge, you'll need to train a bit to maintain the angle
fig5A.JPG
fig5B.JPG
fig5C.JPG
 
Last edited:

Halfstep

Well-Known Member
Mar 4, 2023
270
589
93
57
When it comes time to re-grit the wheel, I find that using an angle grinder works well. Turn on the grinder with the paper wheels and then turn on the angle grinder and grind the paper wheels until clean. Since both grinders are turning at the same time, this ensures that the wheels will remain true and it will quickly remove all the old wax and grit and also it will true up any out of roundness that may have developed from hard use. Then when I re-grit, I put an EVEN and THIN coat of glue on the freshly cleaned paper wheel. I use Elmers's glue and then QUICKLY sprinkle the new grit onto the wheel. I put a piece of paper under the wheel to catch the unused grit. It is important to get the paper wheel gritted quickly as the glue starts to dry fairly quick. Once the paper wheel is re-gritted, I then take a cordless drill and install a 2–4-inch grinding stone or something similar. Then I zip-tie the trigger to turn slowly and then place the drill so that the 2-4-inch grinding stone is up against the deburring wheel. This way, the freshly re-gritted paper wheel will turn slowly as it dries. I do this for 15-20 minutes until the glue is set. If you don't keep the freshly re-gritted wheel turning slowly, the glue will start to sag and run toward the bottom of the wheel creating lumps. DO NOT turn on the grinder while the glue is wet as it will sling the glue and grit off of the wheel and make a big mess, been there done that. But with the cordless drill turning it slowly, it will dry evenly without any lumps from the glue sagging.
 
  • Like
Reactions: BTaylor and LeTuB

eastchannel

Active Member
SH Member
Apr 13, 2020
109
129
43
75
When it comes time to re-grit the wheel, I find that using an angle grinder works well. Turn on the grinder with the paper wheels and then turn on the angle grinder and grind the paper wheels until clean. Since both grinders are turning at the same time, this ensures that the wheels will remain true and it will quickly remove all the old wax and grit and also it will true up any out of roundness that may have developed from hard use. Then when I re-grit, I put an EVEN and THIN coat of glue on the freshly cleaned paper wheel. I use Elmers's glue and then QUICKLY sprinkle the new grit onto the wheel. I put a piece of paper under the wheel to catch the unused grit. It is important to get the paper wheel gritted quickly as the glue starts to dry fairly quick. Once the paper wheel is re-gritted, I then take a cordless drill and install a 2–4-inch grinding stone or something similar. Then I zip-tie the trigger to turn slowly and then place the drill so that the 2-4-inch grinding stone is up against the deburring wheel. This way, the freshly re-gritted paper wheel will turn slowly as it dries. I do this for 15-20 minutes until the glue is set. If you don't keep the freshly re-gritted wheel turning slowly, the glue will start to sag and run toward the bottom of the wheel creating lumps. DO NOT turn on the grinder while the glue is wet as it will sling the glue and grit off of the wheel and make a big mess, been there done that. But with the cordless drill turning it slowly, it will dry evenly without any lumps from the glue sagging.
I dismount the disc, glue and roll in a vee folded newspaper with grit, seems like mess.. Let it dry a day and dress it with the back of an old wrench. Bee's wax is a great lube for this.
 

Halfstep

Well-Known Member
Mar 4, 2023
270
589
93
57
I dismount the disc, glue and roll in a vee folded newspaper with grit, seems like mess.. Let it dry a day and dress it with the back of an old wrench. Bee's wax is a great lube for this.

I tried it that way, taking the wheels off and reinstalling them but it seemed too problematic. Once the wheels were reinstalled, they would be a little off center. It was difficult to get them centered well. So, I just mount them and leave them on and clean and re-grit them. I buy and use a few tubes of bowstring wax as it is bee's wax.