Aaron Jones
Member
- Joined
- Jan 18, 2020
- Messages
- 88
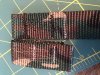
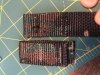
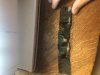
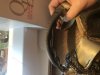
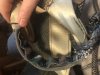
Looks great!!!I got bored and made this one tonight, semi football shaped. A little sloppy in a couple spots but overall I'm happy.View attachment 24099
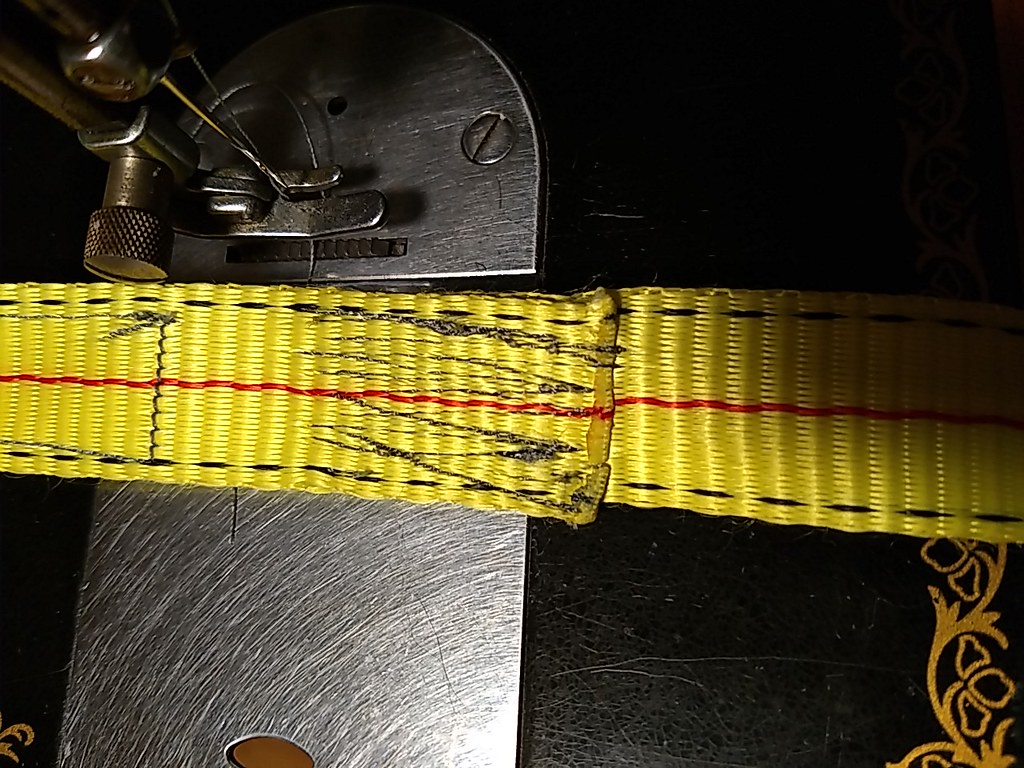
I am still waiting on all my fabric and materials... hopefully they will be here by next week. I am ready to start putting some together.
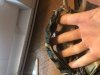
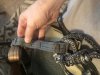
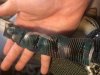
what size buckle is that that you used???